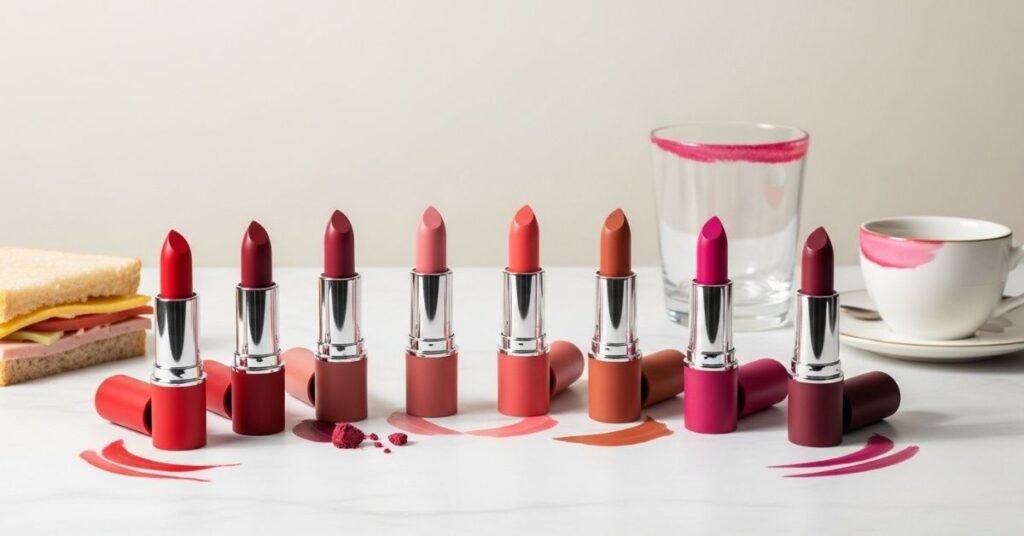
I was standing in my bathroom with a dozen nearly-right nude lipsticks spread across the counter. Each was almost perfect—but not quite. One was too pink, another too brown, a third too pale. Frustrated, I almost bought my 13th nude when a makeup artist friend asked, “Why not mix what you already have?” She showed me five professional techniques that transformed my collection. That afternoon, I didn’t just find my perfect nude—I created it.
At Womenclassy.com, we believe every woman deserves her perfect nude without buying endless tubes. This guide, part of our essential Nude Lipstick Shades series, reveals five professional techniques to customize and mix your existing lipsticks into perfect custom shades.
Why Custom Mixing Beats Buying More lipstick shades
Before we dive into techniques, understand why mixing matters. Even with our comprehensive how to pick the perfect lipstick shades guide, you might still have “almost perfect” shades. Custom mixing solves three common problems:
- Undertone Adjustment: Making a too-warm nude cooler or vice versa
- Depth Correction: Lightening a too-dark nude or deepening a too-light one
- Personal Perfection: Creating shades that don’t exist commercially
The best part? You already own everything you need.
Trick 1: The Temperature Adjustment Technique
Problem: Your nude pulls too warm (orange) or too cool (grey).
Solution: Use complementary colors to neutralize temperature.
For Nudes Too Warm/Orange:
Add a tiny amount of:
- Blue lip liner (sheered out)
- Cool-toned mauve nude lipstick shades
- A dot of blue eyeshadow (mix with balm first)
Pro Formula:
- 90% warm nude + 10% cool mauve = Perfect neutral
- Apply warm nude, then lightly tap cool mauve center and blend
For Nudes Too Cool/Grey:
Add:
- Yellow-based caramel nude lipstick shades
- Peach lip liner
- Gold eyeshadow mixed with clear balm
Pro Formula:
- 85% cool nude + 15% caramel = Warm-balanced nude
- Mix on back of hand before applying
💡 Pro Tip: Always mix less correcting color than you think you need. You can always add more, but you can’t remove excess.
Trick 2: The Depth Layer Method
Problem: Your nude is too light or too dark.
Solution: Create dimension rather than flat color.
For Too-Light Nudes:
Instead of darkening the entire shade:
- Apply your light nude all over
- Use a deeper lip liner (like cocoa nude tone)
- Line and slightly overline lips
- Blend liner inward, creating ombré effect
- Reapply light nude center, blend edges
For Too-Dark Nudes:
- Apply soft nude lipstick as base
- Apply dark nude only to center of lips
- Blend outward with finger or brush
- Add clear gloss center for dimension
Why This Works: The eye perceives layered color as more complex and flattering than flat, adjusted color. This technique addresses the common issues we explore in why most lipstick shades look wrong.
Trick 3: The Finish Transformation
Problem: You love the color but hate the finish.
Solution: Transform matte to glossy, creamy to matte, etc.
Matte to Glossy/Creamy:
- Apply matte nude as usual
- Mix equal parts clear lip gloss and lip balm
- Apply over top, focusing center
- For extra hydration, add a drop of facial oil to mix
Glossy to Matte:
- Apply glossy nude
- Blot thoroughly with tissue
- Dust translucent powder through tissue
- Reapply one thin layer, blot again
- For true matte, use matte eyeshadow matching your nude
Creating Custom Finishes:
- Satin: Glossy nude + dab of matte nude
- Velvet: Matte nude + tiny bit of creamy nude
- Stain: Apply nude heavily, blot, reapply, blot, repeat 3x
Trick 4: The Seasonal Adaptation System
Problem: Your perfect summer nude looks wrong in winter.
Solution: Adjust existing shades for seasonal changes.
Summer to Fall Transition:
Take your summer pink nude lipstick and:
- Mix with 30% brown nude lipstick
- Add touch of burnt orange or brick liner
- Apply, blot, add golden highlighter center
Winter to Spring Transition:
Take your winter deep nude lipstick and:
- Mix with 40% beige nude lipstick
- Add peach or coral tinted balm
- Sheer out with clear gloss
Year-Round Customization Guide:
| Season | Add to Your Base Nude | Effect |
|---|---|---|
| Spring | Peach/coral balm | Fresh, brightening |
| Summer | Gold shimmer + clear gloss | Sun-kissed glow |
| Fall | Brown liner + matte top | Rich, sophisticated |
| Winter | Berry tint + cream finish | Deep, luxurious |
Trick 5: The Personal Pigment Correction
Problem: Nudes look different on you than in tube/swatches.
Solution: Correct for your unique lip pigment.
For Naturally Pink Lips:
Your lips add unwanted pink to nudes. Correct by:
- Apply tiny amount of yellow concealer (not foundation)
- Blot until barely visible
- Apply your nude
- If still too pink, mix nude with 20% neutral nude lipstick
For Naturally Brown/Mauve Lips:
Your lips darken/desaturate nudes. Correct by:
- Apply nude directly (skip concealer)
- Add lighter, brighter shade to center
- Try latte nude lipstick mixed with your nude
For Uneven Lip Pigmentation:
- Apply nude evenly
- Use slightly darker shade on lighter areas
- Use slightly lighter shade on darker areas
- Blend thoroughly
- Top with uniform sheer gloss
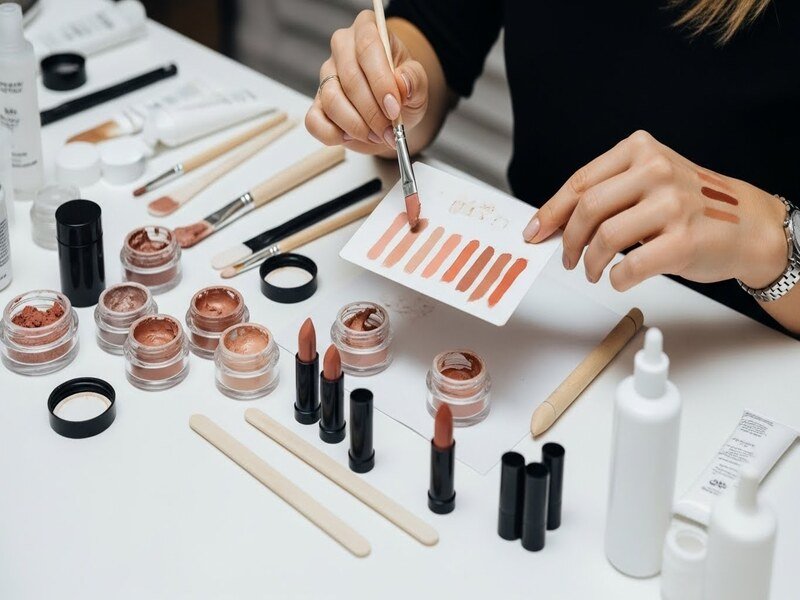
Setting Up Your Mixing Station
Essential Tools:
- Clean palette: Small ceramic plate or metal mixing surface
- Lip brushes: One flat for mixing, one tapered for application
- Sanitizer: Rubbing alcohol for cleaning between mixes
- Balm/Gloss: For adjusting texture
- Liners: Various nude shades for quick adjustments
Mixing Ratios Cheat Sheet:
| Goal | Formula | Notes |
|---|---|---|
| Warm a cool nude | 3:1 (nude:caramel) | Add caramel gradually |
| Cool a warm nude | 4:1 (nude:mauve) | Mauve is powerful |
| Lighten any nude | 2:1 (nude:light beige) | Beige must match undertone |
| Deepen any nude | 3:1 (nude:brown) | Match brown’s undertone |
| Add brightness | 5:1 (nude:peach) | Peach for warmth, pink for cool |
Creating Custom Shades from Scratch
Step-by-Step Custom Nude Creation:
- Identify your goal: “I want a warm-neutral nude that’s my lips but better”
- Choose base shade: Start with neutral nude lipstick
- Adjust warmth: Add tiny amount of warm nude lipstick
- Adjust depth: Add liner if needed
- Test on lips: Not hand—lips change color
- Note your formula: Write it down!
Popular Custom Formulas:
“Office Perfection”:
- 50% beige nude
- 30% rosy nude
- 20% clear balm
- Result: Professional, polished, not too flat
“Date Night Dimension”:
- 60% deep nude
- 40% caramel nude
- Gold glitter mixed in balm center only
- Result: Sophisticated with subtle sparkle
“Summer Glow”:
- 70% soft nude
- 30% peach nude
- Sheered with clear gloss
- Result: Fresh, sunny, barely-there color
Storage and Preservation
Mixed Shade Storage:
- Short-term (1 week): Store in contact lens case
- Medium-term (1 month): Use small lip balm tin
- Label everything: Include formula and date
Sanitation Rules:
- Never mix directly in original tube
- Use clean tools every time
- Discard mixed shades after 1 month
- Watch for texture/odor changes
Troubleshooting Common Mixing Problems
Problem: Mixed shade looks muddy
Solution: You’ve added too many colors. Start over with cleaner ratios.
Problem: Texture becomes grainy
Solution: Ingredients incompatible. Mix less next time or add balm to smooth.
Problem: Color separates
Solution: Mix more thoroughly. Some formulas don’t blend well—note which ones.
Problem: Lasts only 30 minutes
Solution: Layer over lip liner all over lips for better adhesion.
The Professional Advantage
These five tricks give you what makeup artists have: complete control. Instead of hunting for perfect nudes, you create them. Instead of seasonal collections, you adapt one perfect base. Instead of “almost right,” you get “exactly perfect.”
Remember what we emphasize in our lipstick color theory guide: color is adjustable. Your perfect nude exists—it just might be waiting in combinations of what you already own.
FAQs: Custom Nude Mixing
Q1: Can I mix matte and glossy formulas?
Yes, but test small amounts first. Some separate. Better to apply matte first, then add gloss on top.
Q2: How many lipsticks can I mix at once?
Limit to 3 for best results. More becomes muddy.
Q3: Can I use eyeshadow to adjust color?
Yes! Mix with clear balm or lip gloss first, then add to lipstick.
Q4: What if my custom shade oxidizes?
Some mixes darken over time. If this happens, make it slightly lighter than desired.
Q5: How do I recreate a custom shade?
Write down exact ratios and brands. Even better: take photos of the mixing process.
Related Articles:
Nude Lipstick Shades – Complete Guide
How to Pick Lipstick Shade – Selection Method
Lipstick Color Theory – Color Science
Why Lipsticks Look Wrong – Fixing Issues
Cool vs Warm Nude – Temperature Guide
Beige vs Rosy Nude – Shade Comparisons
Soft vs Deep Nude – Depth Guide