I remember my first time backstage at a fashion show in New York. I was watching a legendary makeup artist prep a model for the runway. She had about thirty seconds to apply a deep, matte burgundy—the kind of color that shows every single mistake. Center-out Application. I expected her to carefully trace the edges first, but she did something that blew my mind. She took the lipstick and pressed it firmly right into the center of the model’s lips, then feathered it outward.
In that moment, I realized I had been doing it wrong my entire life. Most of us follow the “Corner-In” method we learned from our moms or old YouTube tutorials, but if you look at a Professional Makeup Secrets handbook for 2026, you’ll find that the Center-out Application is the industry standard.
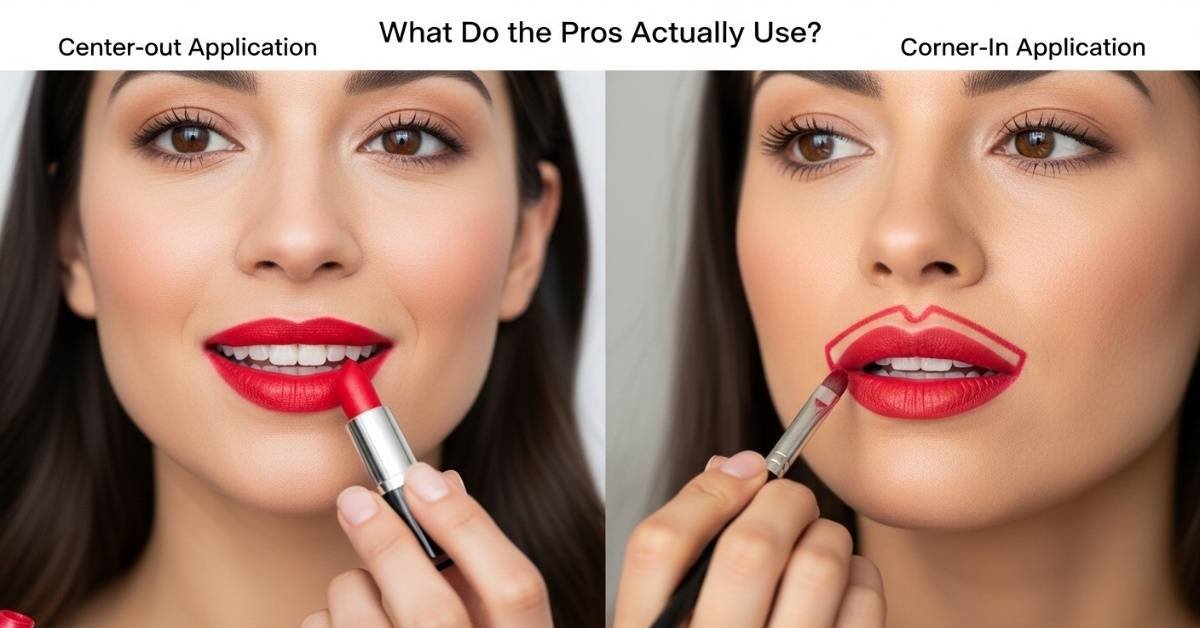
If you’ve ever wondered why your lipstick looks a bit “heavy” or lopsided by the time you reach the office, it’s time to look at what the pros actually use and why the “Corner-In” method is officially retired.
This comparison is part of our Lipstick Comparisons series, designed to help you choose the right prep methods before applying lipstick.
The “Corner-In” Trap: Why It Fails
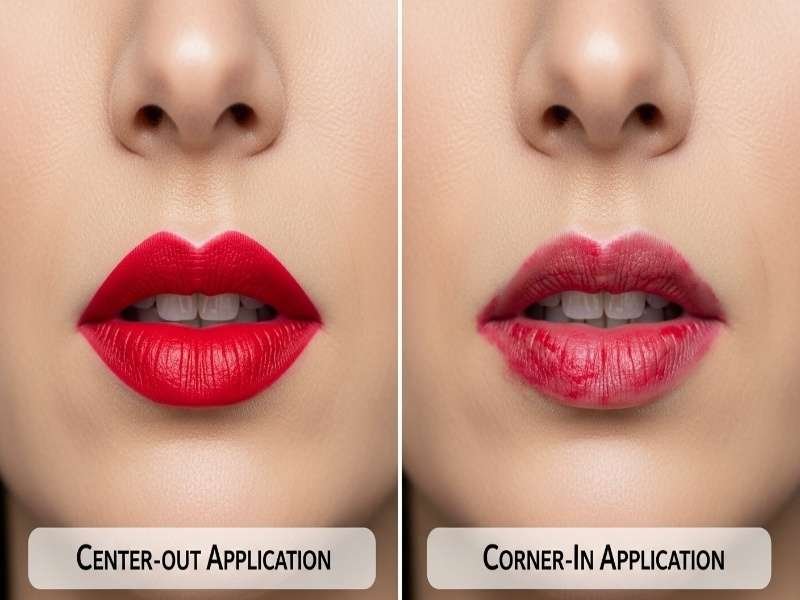
The traditional way to apply lipstick is to start at the outer corner and drag the bullet toward the center. It feels intuitive, right? But here is the problem: when you start at the corner, you are placing the highest concentration of product and pressure at the narrowest, most mobile part of your mouth.
This leads to three major issues:
- Bleeding: The excess product “pools” in the fine lines at the corners.
- Drooping: Heavy pigment at the corners can visually “pull” your mouth down, making you look tired.
- Asymmetry: It is much harder to match the angle of two corners than it is to match two central peaks.
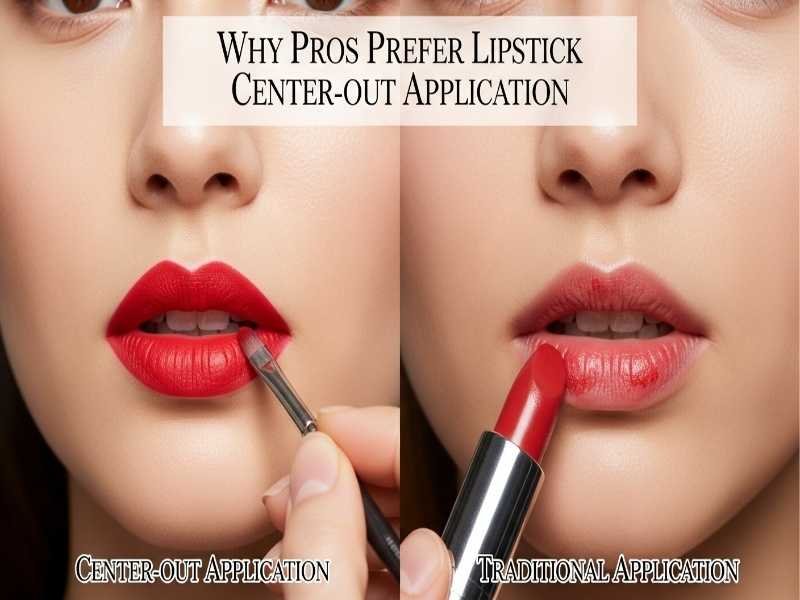
Why Pros Prefer Center-out Application
The Center-out Application is based on the anatomy of the face. Our lips are naturally fullest and most stable in the center. By starting here, you are “anchoring” the color.
When you , you are essentially working from the most symmetrical part of your face outward. This gives you a “buffer zone.” By the time your lipstick bullet reaches the corners, it has less product on it, allowing for a softer, cleaner, and more precise edge. This is the ultimate Lipstick Application Guide secret for achieving a look that stays crisp for hours.
The Pro Technique: Step-by-Step
If you want to transition your routine to a professional level, follow this 2026 workflow:
1. The Central Anchor
Place your lipstick on the Cupid’s bow and draw a small “X.” Then, press the bullet onto the center of the bottom lip. These are your three points of power. This is the foundational step to because it levels your smile before you ever touch the edges.
2. The Tapered Glide
Using very light pressure, glide the lipstick from those central points toward the corners. Imagine you are “fading” the color as you go.
3. The Corner Clean-up
The pros rarely take the actual lipstick bullet all the way into the corner. Instead, they use a small brush or even a clean fingertip to pull the existing pigment into the very edges. This prevents the “heavy corner” look that causes smudging.
Comparison: Center-out vs. Corner-In
Final Thoughts: Changing Your Perspective
Switching from a corner-start to a center-start felt “weird” to me for the first few days. I felt like I didn’t have enough color on the edges. But then I saw my reflection in a store window mid-afternoon and realized my lipstick hadn’t moved. It looked fresh, balanced, and—for the first time ever—perfectly symmetrical.
The Center-out Application isn’t just a trend; it’s a logical way to work with your features. In 2026, we are embracing techniques that make our lives easier and our makeup more durable. Give the “pro” way a try tomorrow; your corners will thank you.
❓ Frequently Asked Questions (PAA Style)
1. How do the pros get lipstick to stay so symmetrical? Professional artists always start in the center. By defining the peaks of the Cupid’s bow first, they create a roadmap for the rest of the lip. This Center-out Application ensures that the “focal point” of the mouth is perfectly aligned with the nose and chin.
2. Is it better to use a lip brush or the bullet directly? Pros often use the bullet for the Center-out Application to get maximum pigment in the middle, but they switch to a brush for the corners. This allows for a “tapered” look where the edges are sharp but not thick.
3. What is the most common lipstick application mistake? The most common mistake is applying too much pressure at the corners of the mouth. This causes the “joker” effect where the color bleeds outward. Starting at the center and working out prevents this excess buildup.
4. How can I make my lips look fuller without overlining? By using the center-out method, you naturally concentrate the most color and shine in the center. This creates a “pouty” 3D effect that makes lips look naturally larger without needing to draw outside your actual lip line.
5. Why does my lipstick always smudge at the edges? This is usually a result of the “Corner-In” method. When you start at the corner, you deposit too much wax in a high-movement area. Switching to a center-start keeps the edges “lean,” which significantly reduces smudging.