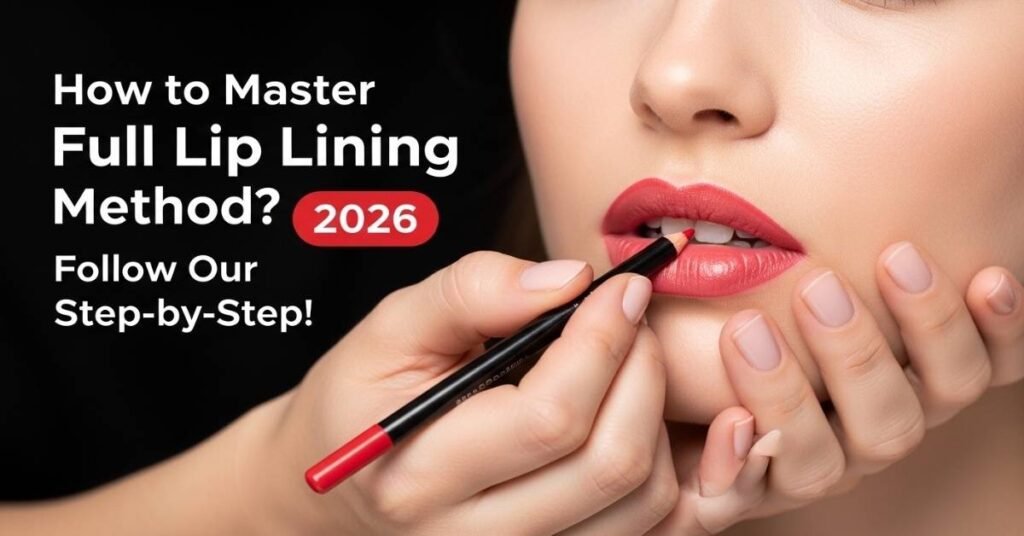
I’ll never forget my first professional makeup masterclass in Chicago. I walked in, pulled out my favorite nude lipstick, and did what I’ve done since high school: a giant, generous swipe from the center of my lips all the way to the edges. I thought I looked great. But the instructor, a veteran artist who has worked the runways of Milan, stopped me mid-swipe. “You’re just moving paint,” she said. “If you want to build a masterpiece, you have to change your direction.”
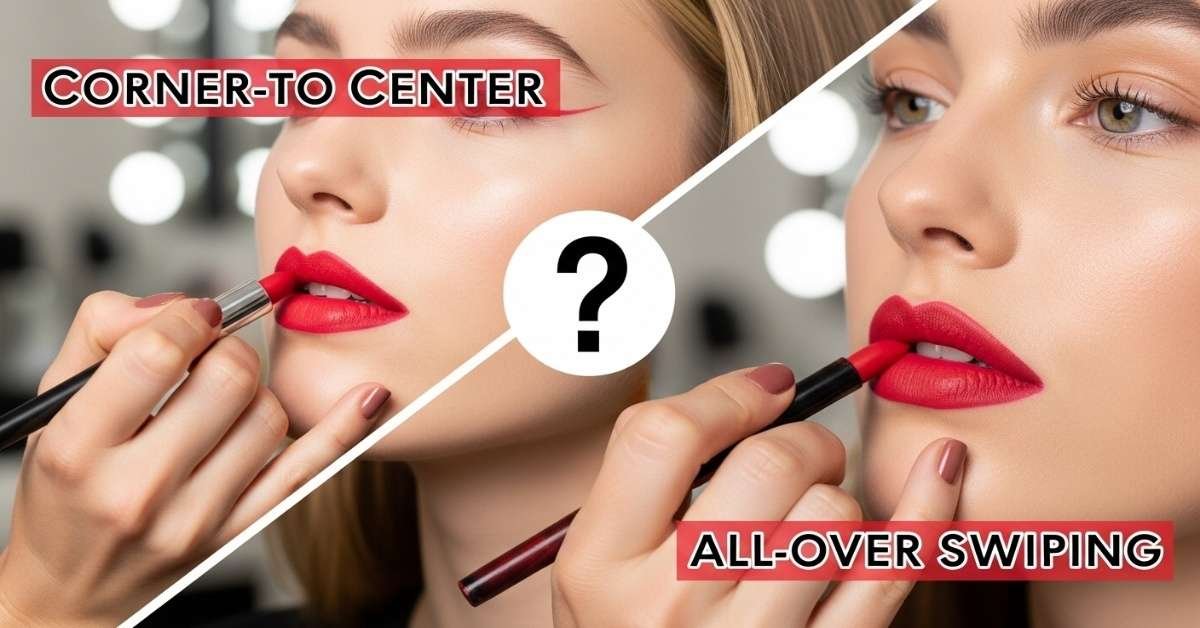
That was the day I retired the “All-over Swiping” method and embraced the Corner-to-center application. At first, it felt counterintuitive—like trying to write with my non-dominant hand. But once I saw the results, I realized why this is one of the most guarded Lipstick Application Secrets. If you’ve ever wondered why your lipstick looks messy by lunchtime or why your lips look “flat,” the secret isn’t your lipstick; it’s your technique.
This comparison is part of our Lipstick Comparisons series, designed to help you choose the right prep methods before applying lipstick.
The Showdown: Corner-to-Center vs. All-over Swiping
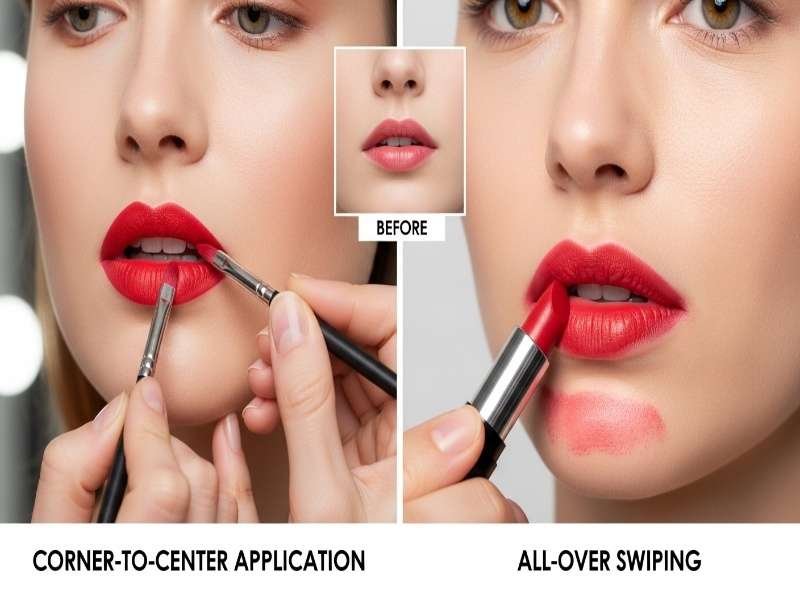
Most of us were taught the “All-over Swiping” method because it’s fast. You put the bullet to your lips, swipe left, swipe right, and you’re done. However, this creates a major problem: it pushes the bulk of the product to the outer edges of your mouth. This leads to “piling,” where the wax gathers in the corners, eventually smudging or bleeding.
In contrast, the Corner-to-center application involves placing your brush or bullet at the very outer “V” of your mouth and pulling the pigment inward. This simple shift in direction keeps the most product in the center of the lip and the sharpest, thinnest layer at the edges. When comparing the two, the has become the go-to for women who want a high-definition look that actually stays put.
Why the Pros Switched: Pro Makeup Techniques Revealed
Professional artists don’t have time for touch-ups every twenty minutes during a shoot. They need a technique that anchors the pigment. Here is why the pros made the switch:
1. Structural Integrity
When you swipe outward, you are fighting against the natural grain of the skin. By pulling inward, you are “hooking” the pigment into the skin’s texture. This is why the debate has a clear winner—the inward pull creates a mechanical bond that swiping just can’t match.
2. Creating the Illusion of Fuller Lips
One of the best Pro Makeup Techniques for 2026 is using the direction of application to manipulate light. By concentrating the most pigment at the corners and blending it toward a slightly lighter center, you create a 3D effect. This naturally results in Fuller Lips without the need for painful fillers or heavy overlining.
3. Symmetrical Precision
Swiping is chaotic. It’s easy to go too far on one side and not far enough on the other. Starting at the corners allows you to set your boundaries first. It’s like drawing the frame of a house before you try to paint the walls.
How to Get Lipstick to Apply Evenly Every Time
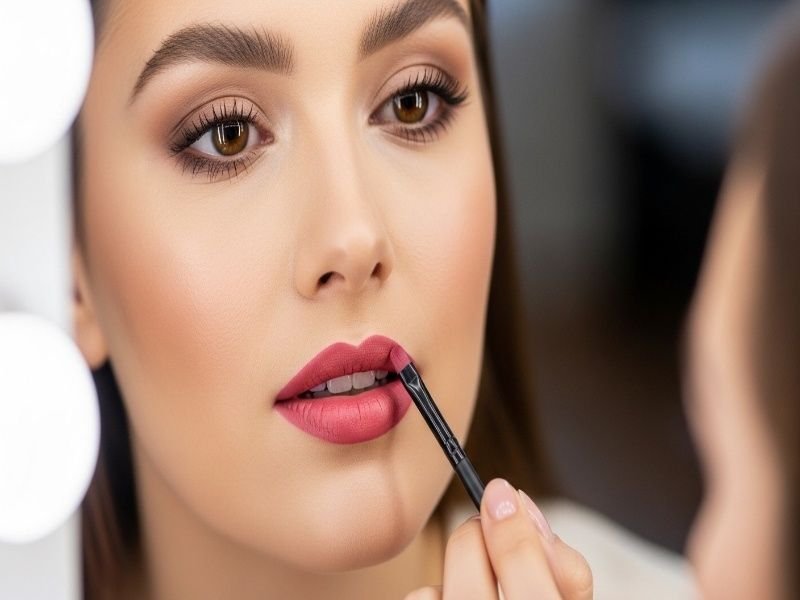
If you’ve struggled with patchiness, you’re probably asking “how to get lipstick to apply evenly?“ The answer lies in the “Micro-Layer” method. Instead of one thick swipe, use your brush to pull small amounts of color from the corner to the center.
I used to have this one dark purple lipstick that always looked “streaky.” I thought it was a cheap formula. But once I used the Corner-to-center application, the color laid down perfectly smooth. The inward motion fills in the vertical ridges of the lips rather than skipping over them.
How to Lift Lip Corners with Lipstick
As we age, our lip corners can naturally start to look a bit “droopy” or downturned. This was a huge insecurity of mine after I turned 35. I felt like my mouth always looked sad in photos.
If you want to know how to lift lip corners with lipstick, the “Corner-to-center” method is your best friend. By starting your line a fraction of a millimeter above the actual bottom corner and pulling upward and inward, you create a visual “lift.” It’s an instant, non-invasive face-lift that takes about thirty seconds to master.
Final Thoughts: The Edge of Sophistication
The difference between a “good” makeup day and a “spectacular” one is often found in the smallest details. Switching to a Corner-to-center application might add an extra minute to your morning routine, but it saves you an hour of stress throughout the day. You’ll walk into meetings and dinners with the confidence that your Fuller Lips and sharp edges are exactly where they should be.
It’s about taking control of the pigment rather than letting the pigment control you. Once you master this shift, you’ll never go back to a simple swipe again.
❓ Frequently Asked Questions (PAA Style)
What is the correct way to apply lipstick? The professional standard is to exfoliate first, prime with a light dusting of powder, and then use the Corner-to-center application. Start at the outer corners and pull the color toward the middle for maximum precision and longevity.
Do you apply lipstick in the corners? Yes, but you must be careful. Do you apply lipstick in the corners? Most people say yes, but the way you do it matters. You should place the applicator in the corner and pull inward to avoid the product gathering in the folds of the skin, which causes smudging.
What is the best way to store lipstick? To keep your lipsticks from melting or breaking down, store them in a cool, dry place away from direct sunlight. Some pros even keep their high-end lipsticks in a beauty fridge to preserve the waxes and oils.
How to get lipstick to apply evenly? The secret to an even application is thin layers. Use a lip brush to pull color from the corners to the center, blot with a tissue, and repeat. This builds a stable foundation of color rather than a slippery layer of wax.
How to lift lip corners with lipstick? Use a concealer to “blur” the very edge of the downturned corner. Then, use a lip liner to draw a new line starting slightly inside the corner, flicking it slightly upward as you move toward the center.