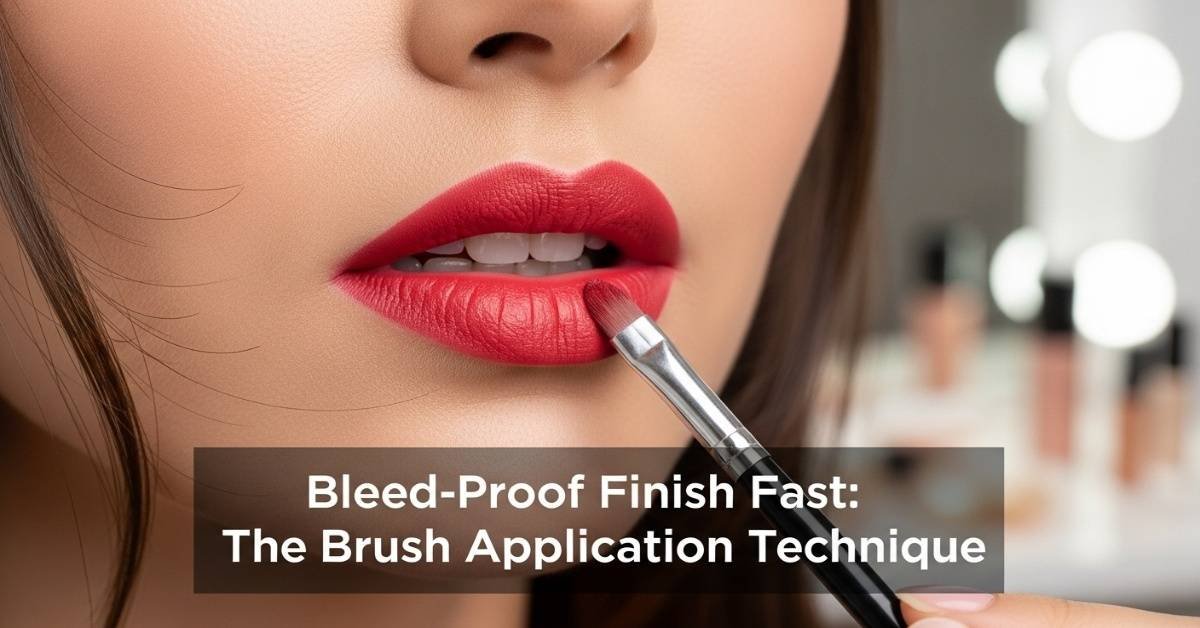
I’ll never forget my best friend’s wedding three years ago. Brush Application Technique. I was wearing a stunning, deep burgundy lipstick that I had swiped on directly from the tube in the back of an Uber. By the time the appetizers were served, I caught a glimpse of myself in a gilded mirror. My lipstick hadn’t just faded; it had “travelled.” Tiny red lines were creeping into the fine skin around my mouth, making me look like I’d just enjoyed a very messy berry pie.
I spent the rest of the night hiding my face, feeling so self-conscious. That was the day I realized that a Bleed-Proof Finish isn’t a luxury—it’s a necessity. It wasn’t the lipstick’s fault; it was my delivery method. Switching to the Brush Application Technique was the “magic wand” that finally stopped the migration. If you’ve ever felt the sting of a “bleeding” lip line, let’s fix it together for good. Brush Application Technique.
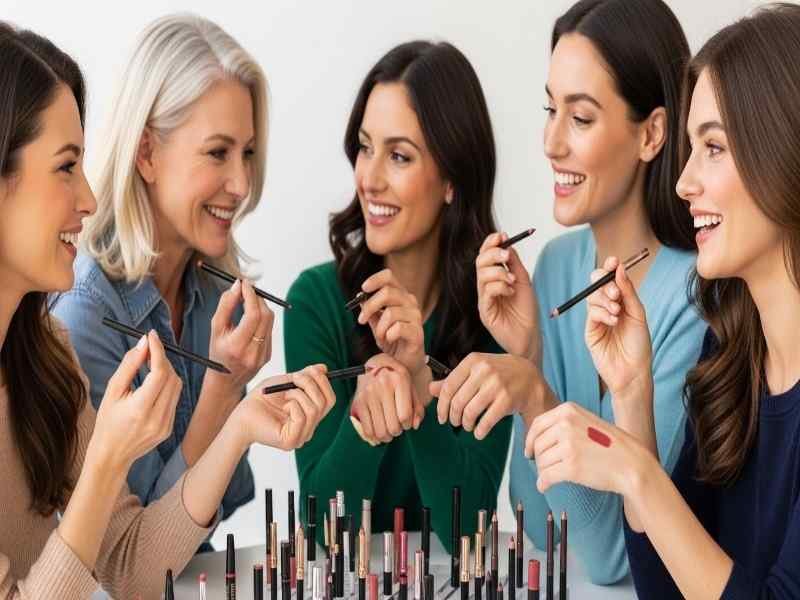
However, the classic showdown of Brush Application Technique vs. Finger Blending always proves that while fingers are fast, only a brush gives you that sharp, professional edge that stays symmetrical all day.”
This concern is covered in our Lipstick Care & Tips section, where we explain common lipstick problems and how simple prep steps can prevent them.
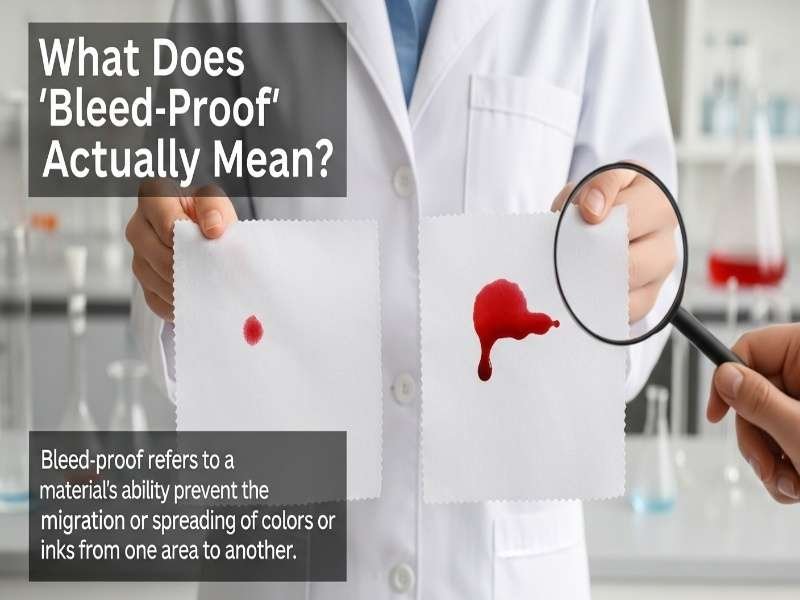
What Does “Bleed-Proof” Actually Mean?
In the beauty world, a Bleed-Proof Finish refers to a lipstick application that stays strictly within the borders of your natural lip line. When lipstick “bleeds,” the oils and waxes in the formula migrate into the microscopic lines around the mouth. This is especially common with creamier, more hydrating formulas or as we age and develop “smoker’s lines” (even if we’ve never smoked!).
Using the Brush Application Technique creates a mechanical barrier. Because a brush allows you to “press” the pigment into the skin’s texture rather than letting it sit loosely on top, the color stays anchored. It’s the difference between laying a rug on a hardwood floor (the tube) and nailing it down (the brush).
Why the Brush Stops the Bleed
When you apply lipstick directly from the bullet, you are putting down a thick, heavy layer of wax. This excess weight is what causes the “creep.”
A brush allows for micro-layering. By picking up a tiny amount of product and sketching it onto the lips, you create a thin, stable base. If you’re still curious about the comparison, you can read our deep dive on to see why the brush provides a level of structural integrity that your fingertips simply can’t match.
For 2026, the trend is “Sculpted Realism,” where the edges are sharp but the texture is skin-like. This is only achievable when you control the volume of the product. Brush Application Technique.
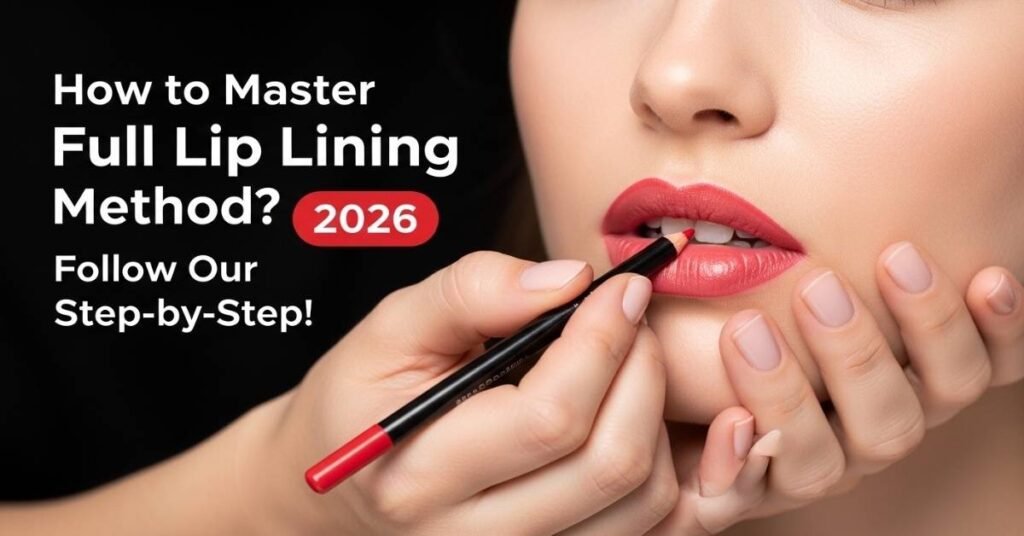
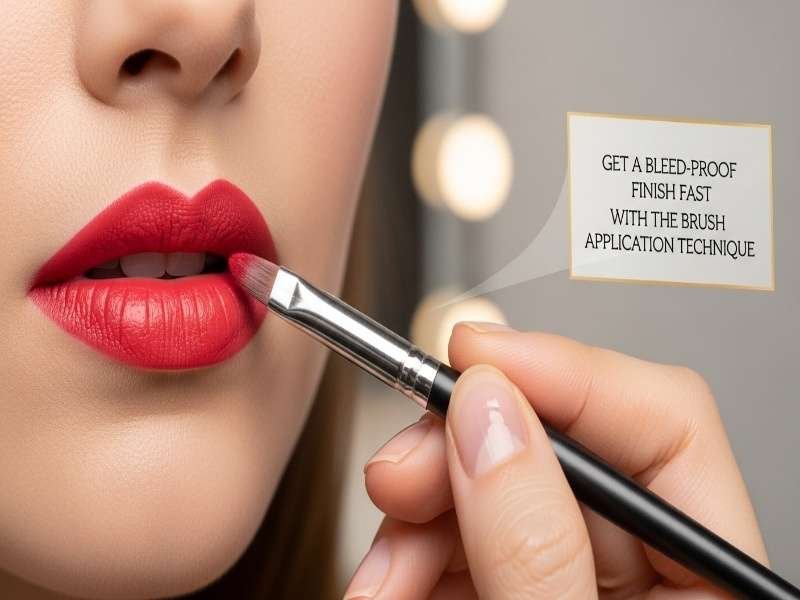
How to Get a Bleed-Proof Finish Fast: Step-by-Step
You don’t need thirty minutes to get this right. Once you master the Brush Application Technique, it adds maybe sixty seconds to your routine, but saves you ten minutes of cleanup later.
1. The Perimeter Lock
Take your lip brush and load it with a tiny bit of your chosen shade. Instead of starting in the middle, start at the Cupid’s bow. Trace the very edge of your lip. Because the brush is thin, you aren’t depositing enough “excess” wax to cause a bleed.
2. The “Cross-Hatch” Fill
Instead of long strokes, use short, downward “flicks” from the edge of the lip toward the center. This “locks” the pigment into the vertical ridges of your lips. This is a pro-secret for because it builds a foundation that doesn’t move.
3. The Tissue Blot
Even with a brush, you might have a tiny bit of extra oil. Take a single ply of tissue, press it against your lips, and use a fluffy brush to dust a tiny bit of translucent powder through the tissue. This “sets” the border like a seal.
Common Myths: Why Your “Bleed-Proof” Plan Failed
I used to think that “long-wear” liquid lipsticks were the only answer to bleeding. But I hated how they made my lips feel like parched desert sand. I realized that you can make any lipstick—even your favorite creamy satin—bleed-proof if you use a brush.
The biggest mistake? Over-priming with heavy lip balms. If your base is too oily, even the best Brush Application Technique won’t work. The lipstick will simply “float” away on the oil. Always blot your balm before you start your color work.
Understanding the “Other” Bleed-Proof (Art vs. Makeup)
When searching for “bleed-proof” online, you’ll often run into art supplies like “Dr. Ph. Martin’s Bleed Proof White” or “Bleed-proof paper.” While these are for calligraphy and markers, the concept is the same: preventing a liquid from spreading where it doesn’t belong.
In makeup, we are essentially trying to make our skin “bleed-proof paper.” We want a surface that holds the “ink” (lipstick) without it feathering into the surrounding “fibers” (skin cells).
Final Thoughts: The Confidence of a Sharp Edge
There is a specific kind of power in knowing your lipstick looks as good at 10 PM as it did at 8 AM. Since I started using the Brush Application Technique, I no longer carry a pocket mirror to check for “red whiskers” every twenty minutes.
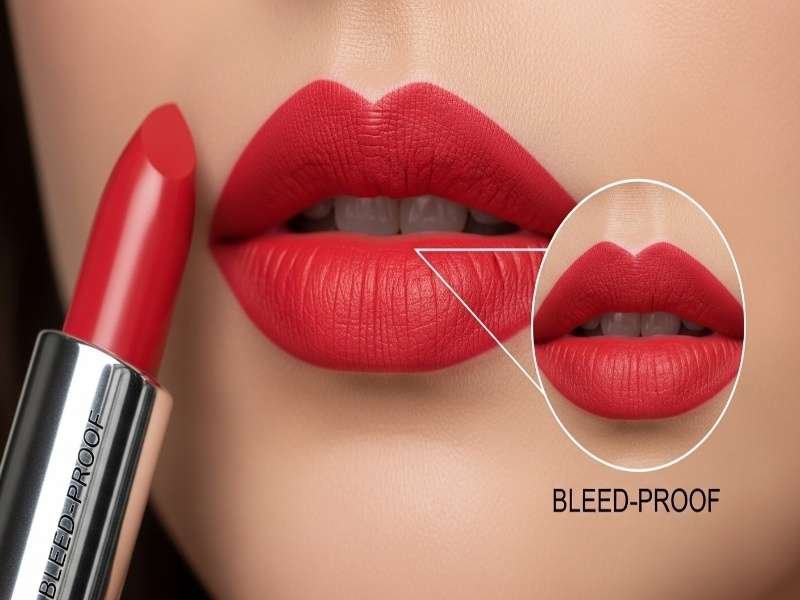
It takes a little practice to get your hand steady, but the Bleed-Proof Finish you get is worth every second. You’ll look more polished, your teeth will look brighter against the clean contrast, and you’ll finally be able to wear that bold red with zero anxiety.
❓ Frequently Asked Questions (PAA Style)
What is bleed proof in makeup? In makeup, bleed-proof refers to a lip or eye application that does not feather, smudge, or migrate into the fine lines surrounding the application area. It ensures the color stays within the intended borders.
How to get color to stop bleeding? The best way to stop lipstick from bleeding is to apply it in thin layers using a lip brush. Additionally, using a “reverse” lip liner (a clear or skin-toned wax pencil) around the outside of the lips creates a physical barrier that oils cannot cross.
What is the best way to fix color bleed if it already happened? Don’t rub it! Use a pointed cotton swab dipped in a tiny bit of micellar water to “erase” the bleed. Then, use a flat brush with a tiny bit of concealer to re-sharpen the edge. This acts as a fresh seal.
Is there a specific “bleed-proof” paper for makeup practice? While there isn’t specific paper for makeup, many artists use high-GSM (grams per square meter) marker pads (like Ohuhu) to practice their “face charts.” This allows them to see how colors interact without the pigment soaking through the page.
How can I make my creamy lipstick more bleed-proof fast? Apply one thin layer with a brush, blot with a tissue, and then apply a second thin layer. This “double-anchor” method removes the excess oils that cause the color to travel, leaving only the pigment behind.