I used to be the girl who carried her lipstick everywhere. I had one in my car, one in my desk drawer, and three in my purse. I thought the only way to keep a bold lip looking fresh was to re-apply it every time I took a sip of water. I’d do a heavy, thick swipe, check the mirror, and ten minutes later, half of it was on my coffee cup. It was exhausting.
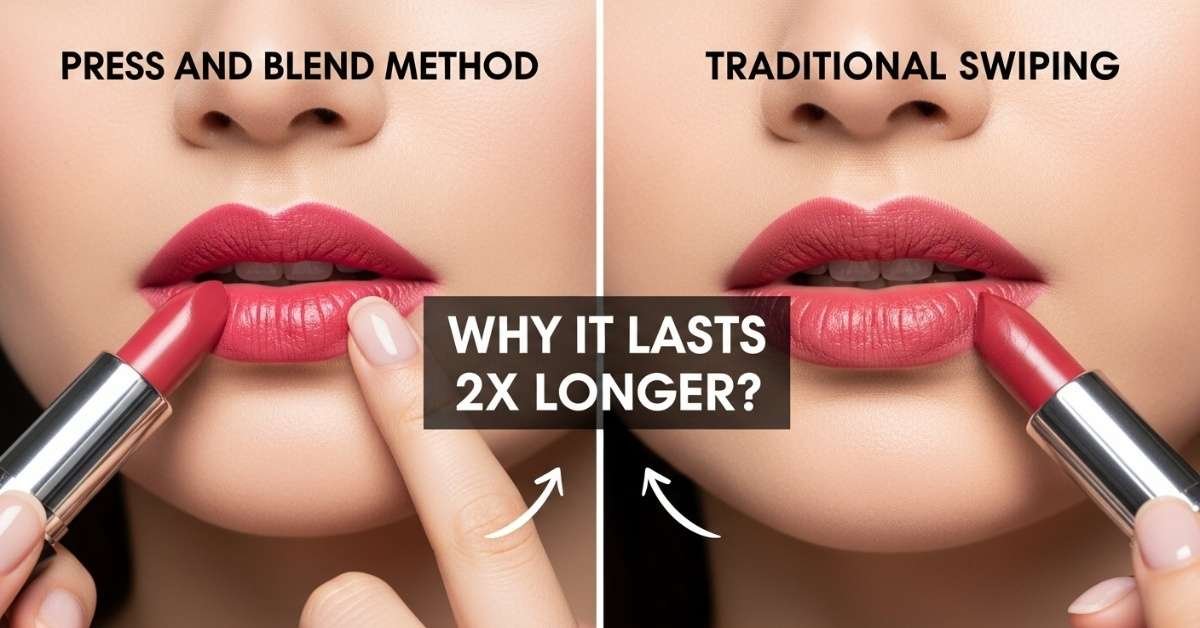
Everything changed when I learned that my technique was actually causing the fading. By switching to the Press and blend method, I discovered that I could make my lip color stay vibrant through an entire eight-hour shift. If you are struggling with Lipstick Longevity, the “Traditional Swiping” habit is likely your biggest hurdle. Here is the science of why the “Press” is superior to the “Swipe” and how it creates a Smudge-Proof Finish that lasts twice as long.
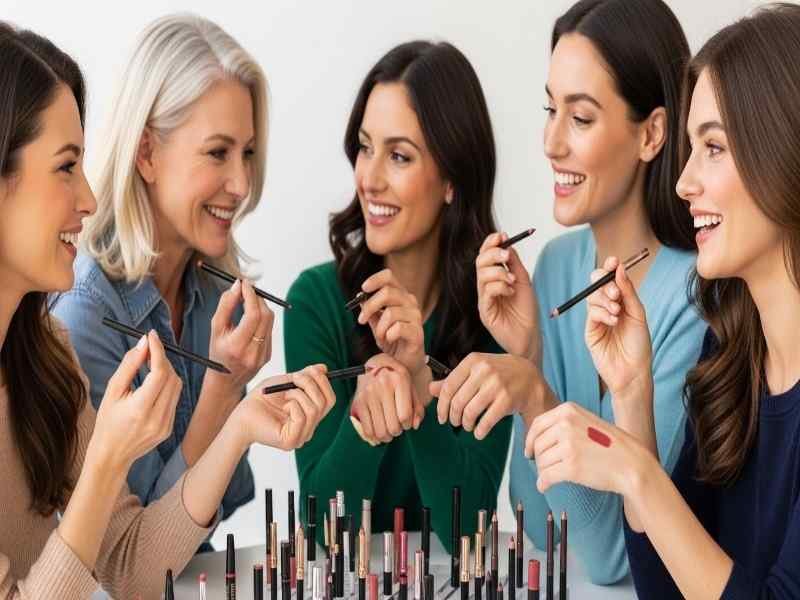
This comparison is part of our Lipstick Comparisons series, designed to help you choose the right prep methods before applying lipstick.
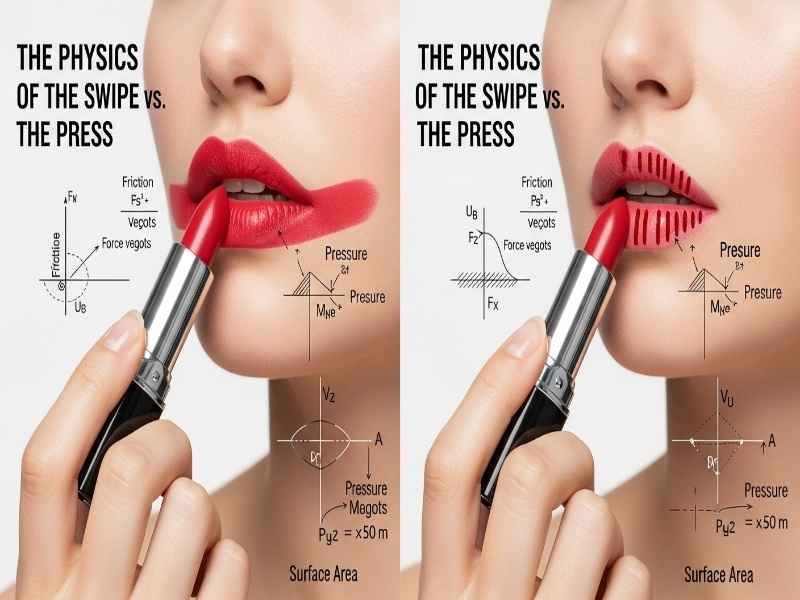
The Physics of the Swipe vs. The Press
When you use “Traditional Swiping,” you are essentially laying a thick sheet of wax and oil on top of your lips. Because the skin on our lips is constantly moving, that sheet of product has nothing to hold onto. It sits on the surface, making it easy to transfer onto glasses, clothes, or even your teeth.
The Press and blend method, however, utilizes the heat from your fingertips to change the physical state of the lipstick. When you press the pigment into your skin, you are forcing it into the microscopic ridges of your lips. Instead of a “coat” of paint, you are creating a Stain Effect. If you want to dive deeper into the basics of this technique, check out our guide on what is the press and blend method.
Why the “Press” Creates Incredible Lipstick Longevity
The secret to Lipstick Longevity in 2026 isn’t just buying “24-hour” formulas that dry out your skin. It’s about “anchoring” the product.
- Thermal Adhesion: Your fingers are roughly 98.6°F. That heat melts the hard waxes in your lipstick bullet just enough to let the pigment fuse with your skin cells.
- Thinning the Layer: A swipe is thick and heavy. A press is thin and concentrated. Thin layers are much harder to “budge” than thick ones.
- The Stain Effect: Because you are pressing the color in, even when the top waxy layer eventually wears off from eating, the pigment remains bonded to the skin. This is a much better stop overlining try press and blend method approach because it keeps the shape of your mouth looking full and colored for hours.

Achieving a Smudge-Proof Finish
One of my biggest pet peeves was “feathering”—those tiny lines of color that creep out from the lip border. Swiping pushes the product toward the edges, which encourages bleeding.
By using the Press and blend method, you are moving the product from the center outward with controlled pressure. This allows you to stop exactly where your natural lip line ends. The result is a Smudge-Proof Finish that looks crisp and professional without the need for a dry, crusty lip sealer. I’ve worn this through humid New York summers and windy Chicago winters, and the edges stay exactly where I put them.
How to Transition Your Routine
If you’ve been swiping for twenty years, the first few times you try to “press” might feel slow. Here is how I made the switch:
- Ditch the Mirror Swipe: Instead of looking in the mirror and doing a “U” shape swipe, I started dabbing the center of my lips with the bullet and then using my ring finger to tap it out.
- Layering for Depth: If I want a more intense look, I do one round of pressing, blot with a single tissue, and then press a second layer. This “Sandwich” technique makes the color literally bulletproof.
While mastering the perfect application is key, understanding the science behind your beauty products is what truly makes a difference. At WomenClassy, we deep-dive into everything from lipstick ingredients to expert-led shade guides to help you make informed choices. Explore our full library of lipstick basics and pro tips to elevate your daily makeup routine.
Final Thoughts: Work Smarter, Not Harder
We spend so much money on high-end lipsticks, so it only makes sense to use a technique that makes them perform at their best. The Press and blend method isn’t just a trend; it’s a more logical way to interact with your skin’s anatomy. Once you see that your lipstick can actually survive a lunch date without a complete overhaul, you’ll never go back to the old “swipe and hope” method again.
It’s time to stop worrying about your makeup and start enjoying your day.
❓ Frequently Asked Questions (PAA Style)
What is the lip trend in 2026? The dominant trend is “Blurry Realism,” which focuses on long-lasting, stained finishes (Soft-Focus Lips) rather than the heavy, over-glossed, or perfectly lined looks of previous years.
Does pressing lipstick really make it last longer? Yes. Pressing utilizes body heat to bond the pigment to the skin’s texture, creating a Stain Effect that resists transfer and fading significantly better than swiping.
Can I use the press and blend method with liquid lipstick? While it works best with cream bullets, you can use it with liquid lipsticks by applying a small dot to the center and tapping it out quickly before it sets.
Is it better to use a brush or my finger? For the most longevity, your finger is superior because the warmth helps the product “melt” into the skin, whereas a brush can sometimes leave the product sitting on the surface.
How do I prevent my lipstick from smudging under a mask? The Press and blend method is the best choice for mask-wearing. Because there is no “excess” product sitting on the surface, there is nothing to rub off onto the fabric.